Your exact Brow Lady preparation, aftercare and healing guide for Nano Brows, Combo Brows and Powder/Ombre Brows.
Healthy skin gives your artist the best canvas to work on, and careful aftercare helps protect the area while it heals. Please read this page before your appointment and save it so you can return to it afterward.
This guide is for Brow Lady clients receiving permanent brow services at our studio serving Boston and Greater Boston from Wilmington, Massachusetts.
Short on time? Start with these essentials, then read the complete instructions below.
48 Hours Before
No alcohol. Avoid exfoliating the brow area.
24 Hours Before
No caffeine or alcohol. Keep the skin calm and avoid strenuous exercise as directed.
Appointment Day
Eat beforehand, stay hydrated and come with your brows done the way you normally wear them.
After Your Appointment
Keep hands clean, follow the cleansing and ointment instructions, and never pick or peel.
Before Care
Healthy, calm skin is the goal.
Because we need healthy and healed skin, before care is crucial. Use this timeline to prepare for your appointment.
4W
4 Weeks Before Procedure
Give your skin time to settle.
Stop acne creams and strong acne treatments on or around the brow area unless your prescribing clinician advises otherwise.
No laser treatments or chemical peels on the face within 4 weeks of the procedure.
Do not arrive with a facial sunburn.
Avoid AHA/exfoliating and tone-correcting products around the treatment area, including lactic, glycolic, citric and retinoid products.
If you are currently taking antibiotics, contact Brow Lady before your appointment. Do not stop a prescribed antibiotic without your prescriber's approval.
2W
2 Weeks to 48 Hours Before
Avoid irritation and give the brow area a break.
No Botox or microneedling close to your brow appointment.
No eyebrow tinting.
If you have skin irritation, blemishes or broken skin directly on the brows, please reschedule.
If you are sick or have cold, flu, sinus or respiratory symptoms, please contact us to reschedule.
Do not exfoliate the brow area for 48 hours before your session.
Do not wax your eyebrows—we will groom them at your session.
No alcohol for 48 hours before your appointment.
If you take fish oil or vitamin E, discuss temporary changes with your clinician when appropriate rather than stopping a medically necessary supplement on your own.
24H
24 Hours Before Procedure
Keep blood flow and skin sensitivity in mind.
No caffeine or alcohol.
Do not stop aspirin, anticoagulants or any other prescribed medication on your own. If you take medication that affects bleeding, contact Brow Lady and your prescribing clinician before the appointment.
Avoid strenuous workouts on the day before/around the procedure if your artist has instructed you to do so.
Avoid thermogenic or stimulant products that significantly elevate heart rate or blood pressure.
If you are menstruating, you may be more sensitive than usual.
Come in with your brows done the way you normally wear them so your artist can see your everyday preference.
Medication safety:
Brow Lady will never ask you to stop a prescribed medication without medical guidance. If a medication or health condition may affect bleeding, healing or candidacy, contact us before your appointment and speak with the clinician managing that medication.
After Care
Treat your fresh brows like healing skin.
Always wash your hands before touching the tattooed area. Your brows are healing skin, so the goal is to keep them clean, avoid introducing bacteria and avoid disturbing the pigment while the skin repairs itself.
First 12 Hours
Remove lymph gently.
For the first hour, gently blot lymph fluid every 5 minutes.
For the next 11 hours, blot approximately every 25–30 minutes.
For later appointments, blot more frequently before bed if needed.
Use slight pressure—as if you were stopping a small bleed—with a clean, lightly moistened cotton pad or lint-free tissue.
Do not saturate the area with water.
If the brows get too wet, pat them dry immediately with a clean tissue.
General Ointment Notes
Less is more.
Use a clean Q-tip to apply ointment.
Use one end for one eyebrow and the other end for the second eyebrow to reduce cross-contamination.
Apply only a very thin layer.
Do not apply ointment to damp or wet brows—pat dry first.
If the brows look soggy, they are too wet.
Days 2–10
Clean gently. Moisturize lightly.
Wash your eyebrows with a very gentle soap by creating a light lather first.
Using gentle circular motions, wash the brows and rinse immediately.
Allow them to dry, then apply a thin layer of ointment to dry, patted brows.
This can be done before bed and after showers or your normal face-washing routine.
Use ointment sparingly. You may apply a very thin amount if the area feels itchy or dry.
Do not apply ointment to damp or wet brows.
Avoid for 14 Days
Protect the treated area.
Avoid soaking the brows or letting the shower stream hit them directly.
Do not let scabs become soggy; pat dry if they get too wet.
Avoid harsh cleansers or non-recommended products on the treated area.
Do not apply makeup directly to the healing brows.
Do not pick, peel or scratch flakes or scabs.
Avoid strenuous activity and heavy sweating.
Avoid steam rooms, saunas, hot baths and Jacuzzis.
Avoid tanning and excessive UV exposure.
Avoid laser treatments, chemical peels, Retin-A and glycolic acid on the face/neck for 4 weeks.
Helpful Habits
Small details can help.
Clip bangs away from the treated area.
Try to sleep on your back when possible.
Use a clean pillowcase for the first 10 days.
Avoid excessive alcohol while healing.
Avoid open-air activities where dirt, wind or debris can repeatedly hit the healing brows.
Touch the brows only when cleansing or applying approved aftercare, and only with clean hands.
Healing
Your brows will change before they settle.
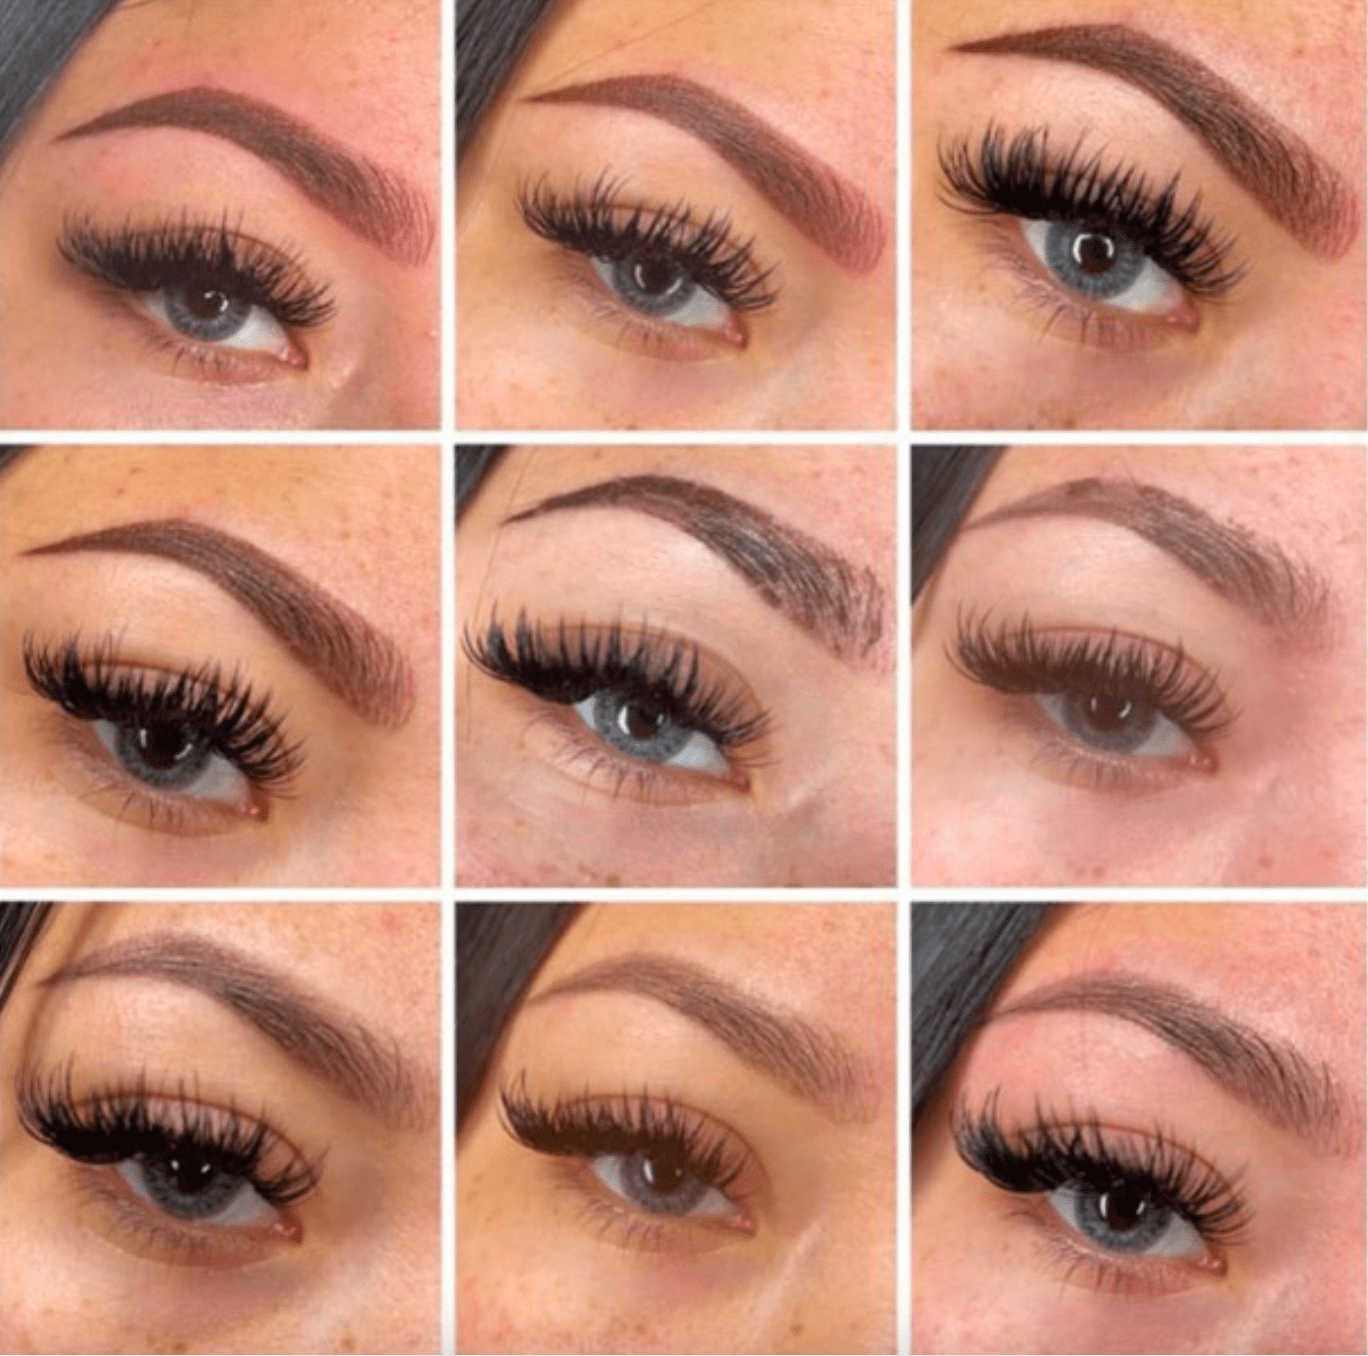
The healing process can feel dramatic at times. Darker, lighter, patchier and flakier stages can all happen before your final healed result becomes clear.
Do not judge your brows too early.
Fresh brows are not healed brows. Color intensity, definition and visible strokes change as the skin repairs itself and the pigment settles.
The most important thing:
Follow your aftercare, let flakes release naturally and give your skin time. Most concerns during the early stages cannot be accurately evaluated until the brows have healed.
1–3
Days 1–3
Darker, bolder and more defined.
Immediately after the procedure, the pigment is fresh and has not fully settled. Brows may look darker, thicker and more solid than expected. They may also feel tender or similar to a mild sunburn.
Color can appear significantly darker than the eventual healed result. Some pigment or lymph may appear on the cotton pad while you blot—this can be part of the early healing process.
4–14
Days 4–14
Flaking, patchiness and the “where did my brows go?” stage.
Flaking can continue for roughly two weeks depending on your skin and healing response. Brows may look patchy, dry or lighter as a new layer of skin forms over the pigment.
Do not pick scabs or flakes. Premature removal can pull out pigment and interfere with retention.
Dryer skin can sometimes heal with crisper visible strokes, while oilier skin may heal with a softer, more powdery appearance.
14–30
Days 14–30
Color and definition begin to return.
Healing is progressing and the brows should begin looking softer and more natural. The apparent color and definition can return as the skin continues settling.
Once the brows are fully closed and healed, protect them from UV exposure with a high-SPF sunscreen to help reduce premature fading and unwanted color shifts.
4–6W
Around 4–6 Weeks
Time to evaluate retention.
After the recovery period, some strokes may appear lighter or less even than they did when fresh. This does not automatically mean something went wrong.
Once the skin is fully healed, your artist can evaluate pigment retention and determine whether a perfecting or touch-up session is appropriate.
Before & After Care FAQ
Permanent Brow Before & After Care FAQs
Can I drink alcohol before my brow appointment?
Please avoid alcohol for 48 hours before your procedure and avoid alcohol again during the 24 hours immediately before your appointment.
Can I have coffee on appointment day?
No. Brow Lady asks clients to avoid caffeine on the day of the procedure.
Should I stop a prescription medication before my appointment?
No medication should be stopped solely for a cosmetic procedure without guidance from the clinician who prescribed it. Contact Brow Lady before your appointment if you take a medication that may affect bleeding, healing or candidacy.
Can I pick flakes or scabs if they look loose?
No. Let flakes and scabs release naturally. Picking can remove pigment prematurely and can increase the risk of irritation, scarring or infection.
Why are my brows so dark after the procedure?
Fresh brows are expected to look darker and more defined than the healed result. They soften as the skin heals and the pigment settles.
Why do my brows look patchy or very light during healing?
As the skin flakes and regenerates, brows can temporarily appear patchy or lighter. Wait until the skin is fully healed before judging retention.
When can the final result be evaluated?
The brows need time to fully heal before retention can be assessed. Brow Lady generally evaluates the healed result around the 4–6 week stage when considering refinement.
What if something looks medically concerning?
Contact Brow Lady for procedure and aftercare questions. If you develop symptoms that seem severe or medically concerning—such as worsening pain, spreading redness, pus-like drainage, fever or other signs of infection—seek appropriate medical care.
Save This Page
Use this as your Brow Lady brow-care guide.
Review the before-care timeline before your appointment, then return to this page during healing. If your artist gives you instructions specific to your skin or procedure, those individualized instructions come first.